Last updated October 31, 2026
 Architectural shingles
 Metal roofing
 Tile roofing
 GAF
 Owens Corning
 Flat & low-slope
Free roof inspection with deck photos before we talk money - GAF and Owens Corning certified installation
Roof Repair Maintenance Checklist for Rialto Homeowners
A roof in Rialto can swing from 145°F surface temperature in August to a soaking rain in December – that thermal shock, not age alone, is what splits flashing seams and pops fasteners loose. Most maintenance checklists you’ll find online were written for four-season climates with spring thaws and autumn leaf drops. Rialto doesn’t work that way. Our damage window is the brutal summer heat cycle that cooks roofing materials from above and attic heat that attacks decking from below. This guide is built around Rialto’s actual weather calendar, month by month, so you’re checking the right things at the right time.
Styles & brands we work with
Quick Answer
A roof maintenance checklist for Rialto homeowners should follow the local climate pattern: inspect for thermal damage in September after peak summer heat, clear debris and check drainage before November rains, verify attic ventilation before June, and document granule loss from UV exposure year-round. The most important tasks are checking flashing seams after heat waves, clearing scuppers and drains on flat roof sections before winter storms, and getting a professional roof inspection every 12 to 24 months.
Table of Contents
- The Rialto Month-by-Month Roof Maintenance Calendar
- Flat and Low-Slope Roof Drainage: Where Standing Water Hides
- UV Granule Loss vs. Impact Damage: How to Tell the Difference
- Attic Ventilation and Rialto’s Summer Heat Load
- Which Maintenance Tasks Keep Your Warranty Valid (and Which Void It)
- Flashing Inspection: The Thermal Cycle Failure Point
- DIY Roof Maintenance Safety Rules Every Homeowner Should Follow
- Common Mistakes to Avoid
- When to Call a Professional
- Frequently Asked Questions
- The Bottom Line
The Rialto Month-by-Month Roof Maintenance Calendar
Generic advice says “inspect your roof in spring and fall.” In Rialto, that timing misses the actual damage window. Our hottest months are July through September, and our rain arrives in a narrow band from November through March. Here’s what to do each month, keyed to what’s actually happening on your roof.
January
We’re in the middle of the rain season. After each significant storm, walk your property and look for water stains on ceilings, walls near the roofline, or damp spots in the attic. Check gutters and downspouts for blockages while the rain is fresh in your mind. If you have a flat or low-slope section, look for ponding water that hasn’t drained 48 hours after the last rain.
February
Rain continues but typically lightens. This is a good month to check attic spaces after storms have passed. Look for daylight coming through the roof deck, dark stains on rafters, or insulation that feels damp. These are signs of leaks that haven’t made it to your ceiling yet.
March
The rain season starts winding down. Schedule a professional Roof Inspection in San Bernardino or Rialto now if you haven’t had one in the past two years. Winter storms may have caused damage that’s not visible from the ground, and catching it before summer heat amplifies any small problem saves money.
April
Temperatures climb. This is the month to clear out gutters and downspouts completely, because whatever accumulated over winter will bake in place by June. Check that downspouts direct water at least three feet away from the foundation. Clean any debris from roof valleys where shingles meet at angles.
May
Attic ventilation becomes critical now. Go into your attic on a warm afternoon and note the temperature. If it feels like a sauna, your ventilation is inadequate and your roof deck is aging faster than it should. Check that soffit vents are not blocked by insulation, and that ridge vents or turbine vents are spinning freely.
June
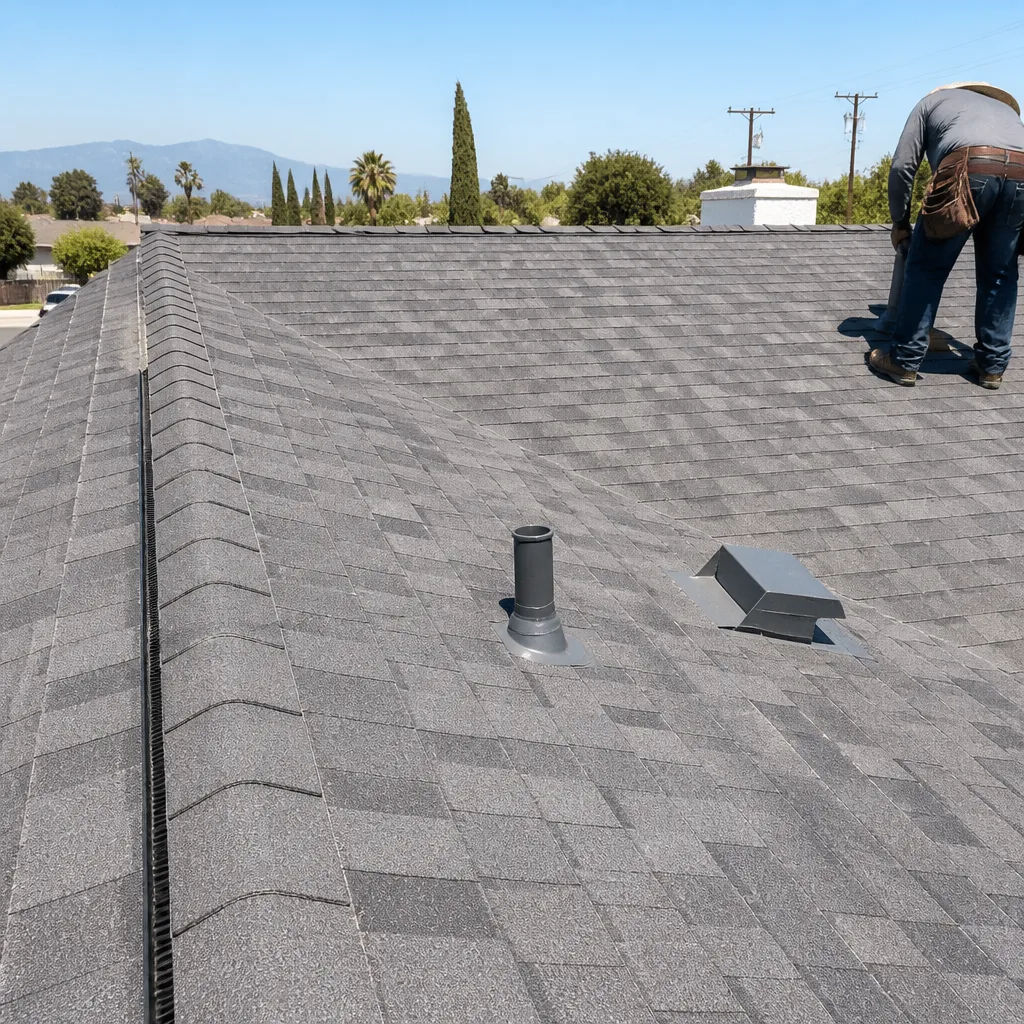
Heat is building. Inspect exposed flashing around chimneys, vents, and skylights from the ground with binoculars. Look for separation at seams, cracked sealant, or lifted edges. Thermal expansion is starting to stress these joints, and problems that begin in June become leaks in December.
July
Peak heat month. Avoid walking on asphalt shingle roofs in the afternoon – shingles soften and foot traffic can cause permanent damage. If you must access the roof, do it at dawn. Check your attic temperature again; Rialto attics in July can hit 150°F without proper ventilation, which cooks shingles from below.
August
The hottest month for surface temperatures. This is when thermal shock damage is most visible. Walk the perimeter of your home and look for shingles that appear wavy, buckled, or are missing along the edges. The expansion-contraction cycle peaks now, and fasteners that held through July heat may have popped by late August.
September
After the heat breaks, before the rain returns. This is the most important inspection month in Rialto. Check every flashing seam, every pipe boot, every ridge cap. Look for granule accumulation in gutters and at downspout elbows – a sign of UV degradation that accelerated over summer. This is also the right time for your pre-rain professional inspection. If you’re considering Roof Repair in San Bernardino or Rialto, doing it in September means your roof is ready for winter.
October
Last clearance before rains. Clean all roof surfaces of leaves, branches, and debris. Rialto gets Santa Ana winds in October that deposit dry leaves and twigs on roofs. Clear flat roof drains and scuppers completely. Test drainage by running a hose on the roof and watching how water moves toward drains.
November
Rain season typically begins. After the first real storm, check indoor ceilings and attic spaces within 24 hours. Early rain often exposes weaknesses that summer heat created. If you see evidence of leaks, address them now before storms intensify.
December
Heavy rain month. Monitor flat roof ponding after each storm. Check that gutters are handling water volume without overflowing. Listen for dripping or water movement in walls during storms. If issues appear, document them with photos for insurance purposes and call for repairs quickly, because waiting through winter makes small leaks into big ones.
Flat and Low-Slope Roof Drainage: Where Standing Water Hides
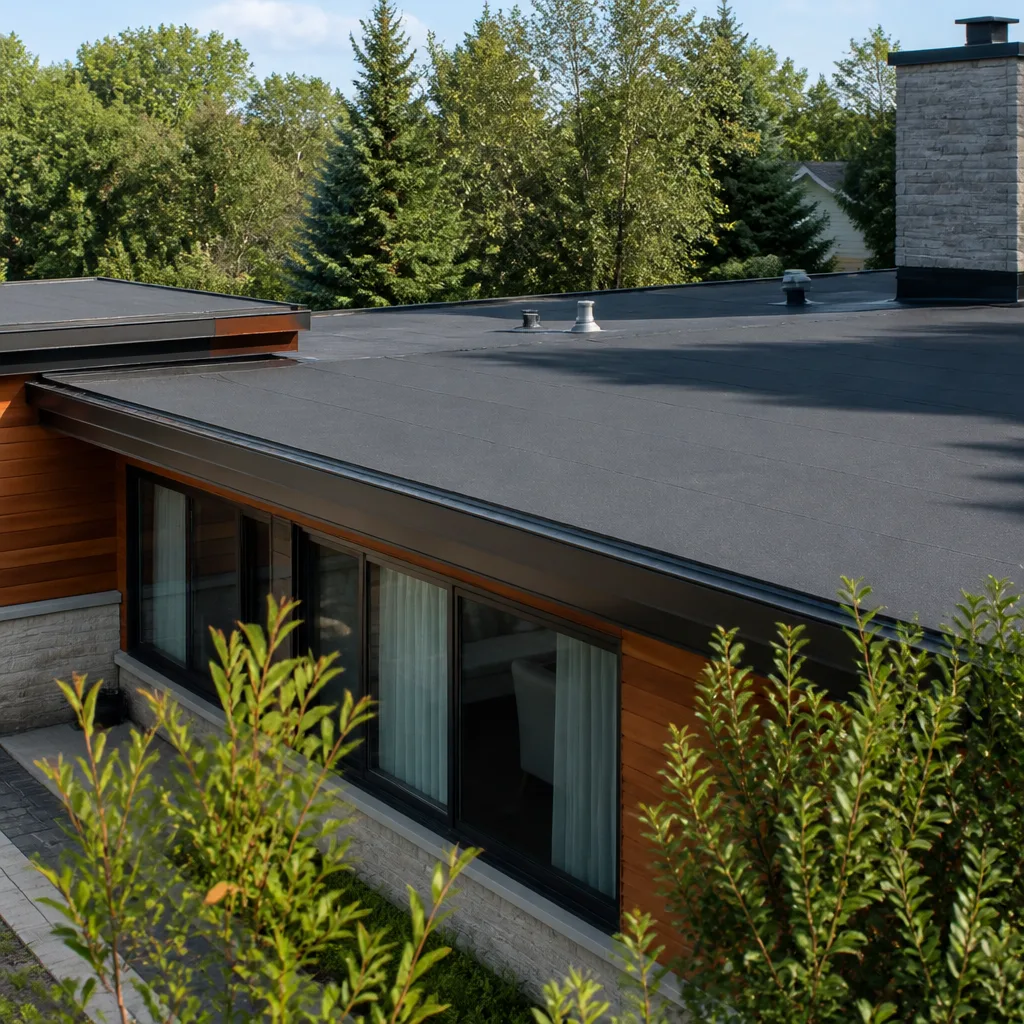
Flat and low-slope roofs are common in Rialto, especially on mid-century homes and commercial-style residential additions. These roofs don’t shed water the way steep-pitch roofs do. Water moves slowly toward drains, scuppers, or interior drains, and any obstruction creates ponding that deteriorates the roofing membrane faster than anything else.
Here’s a step-by-step check for flat roof drainage issues:
- Identify all drainage points. Walk the property and note every scupper, interior drain, and downspout location. Many Rialto homes have multiple drainage points on a single flat section.
- Clear debris from each drain opening. Leaves, granules, dirt, and even bird feathers accumulate around drain strainers. Remove everything by hand or with a soft brush – never with sharp tools that could puncture the membrane.
- Check the area immediately around drains. This is where membrane seams are under the most stress. Look for cracking, separation, or lifting at the edges where the membrane meets the drain assembly.
- Look for low spots away from drains. Ponding water often collects where the roof deck has sagged slightly over time. These ponds are where membranes fail first. Mark them and monitor how long water stands after rain.
- Inspect scupper edges and metal flashing. Scuppers that channel water through parapet walls are common failure points. Check for rust, separated sealant, and proper pitch.
Standing water that remains 48 hours or more after rain accelerates membrane degradation, promotes algae and moss growth, and adds dead weight to the structure. In our experience, flat roof failures in Rialto are almost always drainage failures first, material failures second. Fix the drainage and the roof lasts dramatically longer.
UV Granule Loss vs. Impact Damage: How to Tell the Difference
Granule loss on asphalt shingles happens two ways. Impact damage from hail, falling branches, or foot traffic knocks granules off in concentrated patches. UV degradation causes a slow, even shedding of granules across the entire roof surface. Rialto homeowners need to understand this distinction because the two causes require different responses.
UV granule loss looks like: a thin, even accumulation of granules in gutters after every rain; shingle surfaces that appear smooth or shiny when viewed from the ground at an angle; faded or bleached color across large areas; granules that come off easily when you run a gloved hand over the shingle surface. This is degradation happening from sun exposure – Rialto gets roughly 280 sunny days per year, and each one contributes to gradual granule shedding.
Impact granule loss looks like: a bald spot on an otherwise textured shingle surface; granules missing in a circular or V-shaped pattern; damage concentrated on one slope or one section of roof; granules scattered in piles below a specific spot. This indicates a recent impact event, and insurance may cover repairs if the damage is from hail or wind-blown debris.
Here’s why the distinction matters. UV granule loss is progressive and affects the whole roof. It means the shingles are nearing the end of their service life, and patching individual spots won’t stop the decline. Impact granule loss is localized; if caught early, targeted roof repair in San Bernardino or Rialto may be all that’s needed. Knowing which one you’re dealing with determines whether you’re looking at a repair or preparing for replacement.
When we inspect roofs in Rialto, we check the gutters first. The pattern of granule accumulation tells us more about the roof’s overall condition than the shingle surface itself. Even, fine granules spread throughout the gutter suggest UV aging. Clumps or localized piles suggest a specific damage event.
Attic Ventilation and Rialto’s Summer Heat Load
Attic ventilation is the maintenance item most Rialto homeowners never think about until their roof deck fails. Here’s what’s happening: in summer, your attic can reach 140°F to 160°F without adequate ventilation. That heat attacks the roof deck from below, causing plywood delamination, shingle blistering, and premature aging of the entire roofing system. Heat from below degrades materials faster than sun from above.
A properly ventilated attic in Rialto should stay within 10 to 15 degrees of outdoor temperature. If your attic is significantly hotter, your roof is cooking from the inside out.
Here’s how to check attic ventilation:
- Count your vents. Look for intake vents at the soffit or eave level and exhaust vents at the ridge or upper roof. Both are required; exhaust alone does almost nothing without intake to create airflow.
- Check that soffit vents are unblocked. In Rialto homes, insulation often gets pushed into soffit areas during installation, blocking airflow. Go into the attic and look for daylight at the eaves. If you can’t see light, your intake is compromised.
- Verify ridge vents are clear. Ridge vents run along the peak of the roof. From outside, they should not be covered by shingles or debris. Inside, they should be visibly open along the ridge line.
- Check for bathroom and kitchen exhaust fan connections. These should vent directly outside, not into the attic. Venting moist air into the attic creates condensation, mold, and deck rot – problems we see regularly in Rialto homes.
- Look for signs of moisture in winter. Dark stains on decking, rusted nails, or frost inside the attic during cold snaps indicate condensation, which usually means ventilation is insufficient.
If ventilation is inadequate, adding vents or a solar-powered attic fan can reduce attic temperatures by 20 to 30 degrees. That directly extends the life of your roof. Ridgeway Roof Repair includes ventilation assessment as part of every roof inspection we perform, because we can’t evaluate a roof’s condition honestly without understanding what’s happening underneath it.
Which Maintenance Tasks Keep Your Warranty Valid (and Which Void It)
Roofing manufacturer warranties from brands like CertainTeed, Owens Corning, and IKO all carry maintenance expectations. Homeowners who ignore maintenance can find claims denied years later. Here’s what the warranty language typically requires, and what will get you in trouble.
Tasks that protect your warranty:
- Documented annual or biennial inspections. Most manufacturer warranties require “reasonable maintenance,” which courts and manufacturers interpret as regular inspections. Keep records – photos, inspection reports, receipts for any work performed. If you ever file a claim, documentation is your defense.
- Prompt repair of identified damage. Found a torn shingle or separated flashing seam? Fix it. Warranties exclude damage that results from neglect. A small issue left unaddressed for two years becomes a denied claim.
- Keeping gutters and drainage clear. Water backup caused by clogged gutters damages roofing materials and is explicitly excluded from most warranties. This applies to both steep-slope and flat roof systems.
- Proper attic ventilation. Atlas and Owens Corning warranties specifically require adequate ventilation. Inadequate ventilation that causes premature shingle failure is a warranty exclusion, not a covered defect.
Tasks that can void your warranty:
- Pressure washing the roof. High-pressure water strips granules off asphalt shingles and damages the protective surface. Manufacturers consider this abuse. Never pressure wash an asphalt shingle roof.
- Installing conflicting materials or unauthorized modifications. Adding a satellite dish mount, installing skylights incorrectly, or patching with incompatible sealants can void warranty coverage for affected areas. Manufacturer systems are engineered to work together; mixing random materials breaks that system.
- Walking on the roof with improper footwear or during hot conditions. Shingle damage from foot traffic is owner-caused. If you’re doing DIY inspection, use soft-soled shoes, avoid peak heat hours, and minimize your time on the surface.
- DIY repairs done incorrectly. Manufacturers can technically void warranty on any area “altered or repaired” by unqualified parties. A poorly sealed pipe boot repair that leaks and damages the deck will not be covered.
One note on full replacement vs. repair: If you need roof replacement in San Bernardino or Rialto, using a contractor who is certified with multiple manufacturers – Ridgeway Roof Repair is certified and authorized across GAF, CertainTeed, Owens Corning, IKO, Atlas, Tamko, and Boral – gives you access to enhanced warranty options that single-brand contractors can’t offer. The right warranty is not just about materials; it’s about the contractor’s certification level and installation record.
Flashing Inspection: The Thermal Cycle Failure Point
Flashing is the metal or membrane material that seals the joints where roof meets chimney, wall, vent pipe, skylight, or parapet. In Rialto’s climate, flashing is the single most common failure point on otherwise healthy roofs. The reason is thermal cycling: materials expand when hot and contract when cool. A roof surface hitting 145°F in August and dropping to 40°F on a December night creates constant movement. Over years, that movement splits sealant, separates seams, and pulls fasteners loose.
Here’s how to inspect flashing from the ground or from inside the attic:
- Check chimney flashing first. From the ground with binoculars, look at the metal flashing where the chimney meets the roofline. Look for gaps between the flashing and the chimney brick, cracked caulk, or areas where the metal has pulled away from the surface.
- Examine pipe boots. Vent pipes penetrating the roof have rubber boots that seal them. UV radiation from Rialto’s relentless sun breaks down rubber, causing cracking and splitting. Pipe boot failures are our most common repair call in Rialto because the sun simply destroys rubber here faster than in coastal climates.
- Inspect wall step flashing. Where a roof slope meets a vertical wall, step flashing is layered between shingles and the wall surface. Look for rust, lifted edges, or spots where the flashing appears to have shifted out of position.
- Check skylight flashing. Skylight leaks are often flashing failures rather than skylight failures. Inspect the metal or membrane curb around each skylight for separation or cracking.
- Look at parapet wall caps on flat roofs. The metal cap on top of a parapet wall is flashing too. Rusted or separated parapet caps let water into the wall structure, which then travels down into the roof system.
If you spot flashing issues, don’t wait. Flashing repairs are among the most affordable roofing fixes, but deferred flashing failures cause deck rot, interior water damage, and mold. The fix that costs $300 in September can become a $3,000 repair in February.
DIY Roof Maintenance Safety Rules Every Homeowner Should Follow
We’re going to be honest: most roof maintenance tasks can and should be done from the ground or from inside the attic. Walking on a roof is genuinely dangerous, and Rialto homeowners should understand the risks before climbing a ladder. Falls from roofs are a leading cause of serious injury and death among homeowners. This isn’t a liability warning; it’s a practical one.
If you choose to do roof-level inspection or maintenance yourself, follow these safety rules without exception:
- Work with a partner. Never get on a roof alone. A second person can hold the ladder, spot loose shingles, and call for help if something goes wrong.
- Use a proper extension ladder. It should extend at least three feet above the roofline and be set at a 4:1 ratio (one foot away from the wall for every four feet of ladder height).
- Wear appropriate footwear. Soft-soled shoes with good grip. No sandals, no bare feet, no hard-soled boots that can crack shingles.
- Avoid the roof when it’s hot, wet, or windy. In Rialto, that means roof work before 9am in summer. Hot shingles are slippery and soft, and heat exhaustion is real. Never go on the roof during or after rain.
- Use a safety harness if your roof pitch is steeper than 6/12. Most Rialto homes have moderate pitches, but if you’re unsure, err on the side of harness equipment.
- Mark skylights and roof openings. If you do get on the roof, know exactly where every skylight, vent, and potential weak spot is before you start walking. Stepping through a skylight is a preventable catastrophe.
For anything beyond visual inspection and simple debris clearing, call a professional roofer. Inspections from the ground with binoculars, attic checks, and gutter cleaning at ladder level are appropriate for homeowners. Full roof walks, repair work, and anything involving flashing should be left to people who do this every day with proper safety equipment and training.
Common Mistakes to Avoid
- Following a generic seasonal checklist. Spring and fall inspections make sense in Chicago. In Rialto, September (after peak heat, before rain) and January (mid-rain-season) are the critical review windows. Using timing designed for other climates means you’re always checking at the wrong moment.
- Ignoring flat roof ponding. Homeowners with flat sections often assume some standing water is normal. It’s not. Water that remains 48+ hours after rain is actively shortening your roof’s life. Fix the drainage, not the symptom.
- Caulking over failing flashing without proper repair. Squeezing caulk over a split flashing seam treats the symptom for one season. The thermal movement that split it will split the caulk too. Flashings need mechanical repair or replacement, not cosmetic sealant.
- Not documenting maintenance. If you replace a section of shingles or repair a flashing, write it down and take photos. When warranty claims or insurance claims arise years later, documentation is the difference between coverage and denial.
- Checking only after leaks appear. By the time water reaches your ceiling, damage has been happening for weeks or months. The point of maintenance is catching problems before they leak, not after.
- Assuming roof age equals roof condition. We’ve seen 8-year-old roofs in Rialto that are shot and 20-year-old roofs that are fine. Installation quality, ventilation, and material choice matter more than age. That’s why inspection findings, not roof birthday, should guide decisions.
When to Call a Professional
Some roof situations require trained eyes and hands. Call a professional roofer if you notice: water stains on interior ceilings or walls; visible daylight through the roof deck in the attic; shingles that are cracking, curling, or missing in multiple locations; any sign of sagging along roof lines; flashing that has visibly separated or rusted through; ponding water that persists on flat sections. Also call for a professional inspection anytime your roof is over 10 years old and hasn’t been evaluated in the past two years. Ridgeway Roof Repair offers free estimates in Rialto – call (877) 588-7942 to schedule yours.
Frequently Asked Questions
Inspect your roof from the ground and attic at least twice a year – once in September after peak heat and once in January during the rain season. Have a professional roof inspection every 12 to 24 months, or immediately after any major storm with high winds or hail. Rialto’s climate ages roofing materials faster than most homeowners expect, so more frequent checks catch problems earlier.
Roof repair costs in Rialto vary based on the issue, but typical ranges are: minor flashing repair or pipe boot replacement $250 to $600; localized shingle replacement $300 to $800; flat roof membrane patching $400 to $1,200; gutter and drainage correction $200 to $700. Larger repairs involving decking or structural work run higher. Call (877) 588-7942 for an exact quote – estimates are free.
Ground-level inspection, binocular checks, gutter cleaning from a ladder, and attic inspection are safe for most homeowners. Full roof walks, flashing repairs, and anything requiring access to the roof surface are best left to professionals. The risk of injury or accidental damage from DIY roof work typically outweighs any savings. Know your limits and hire for everything above them.
Widespread granule loss across the entire roof, shingles that are cracked or curling in multiple areas, deck delamination visible from the attic, and leaks appearing in multiple locations all suggest replacement is more cost-effective than continued repairs. If your roof is over 15 years old and showing two or more of these symptoms, start planning for roof replacement in San Bernardino or Rialto before you’re forced into an emergency decision.
Yes. Rialto’s combination of intense UV exposure, summer thermal cycling, and concentrated winter rain means roofing materials need high UV resistance, proper attic ventilation, and robust flashing details. Flat and low-slope roof sections need particular attention to drainage. Material choice matters here – products from manufacturers like CertainTeed and Owens Corning with enhanced UV protection perform measurably better in our climate than budget alternatives.
Insurance typically covers sudden, accidental damage from events like wind, hail, or falling objects. It does not cover wear and tear, UV degradation, or damage from deferred maintenance. Many Rialto homeowners discover this distinction the hard way when a leaking roof is denied because the root cause was years of neglect. Regular maintenance and documentation make insurance claims stronger when legitimate damage does occur.
The Bottom Line
Maintaining a roof in Rialto is about timing and specificity. Check flashing after summer heat, clean drainage before winter rains, verify attic ventilation before June, and document everything. Understand the difference between UV granule loss and impact damage so you know whether you’re facing repair or replacement. Keep your manufacturer warranty valid through documented inspections and prompt repairs. For anything beyond ground-level observation, hire a professional who does nothing but roofing. Call Ridgeway Roof Repair at (877) 588-7942 to schedule a free estimate. We only do roofing – and we’d be glad to help you understand exactly what your roof needs.
Written by the team at Ridgeway Roof Repair, serving Rialto since 2018.
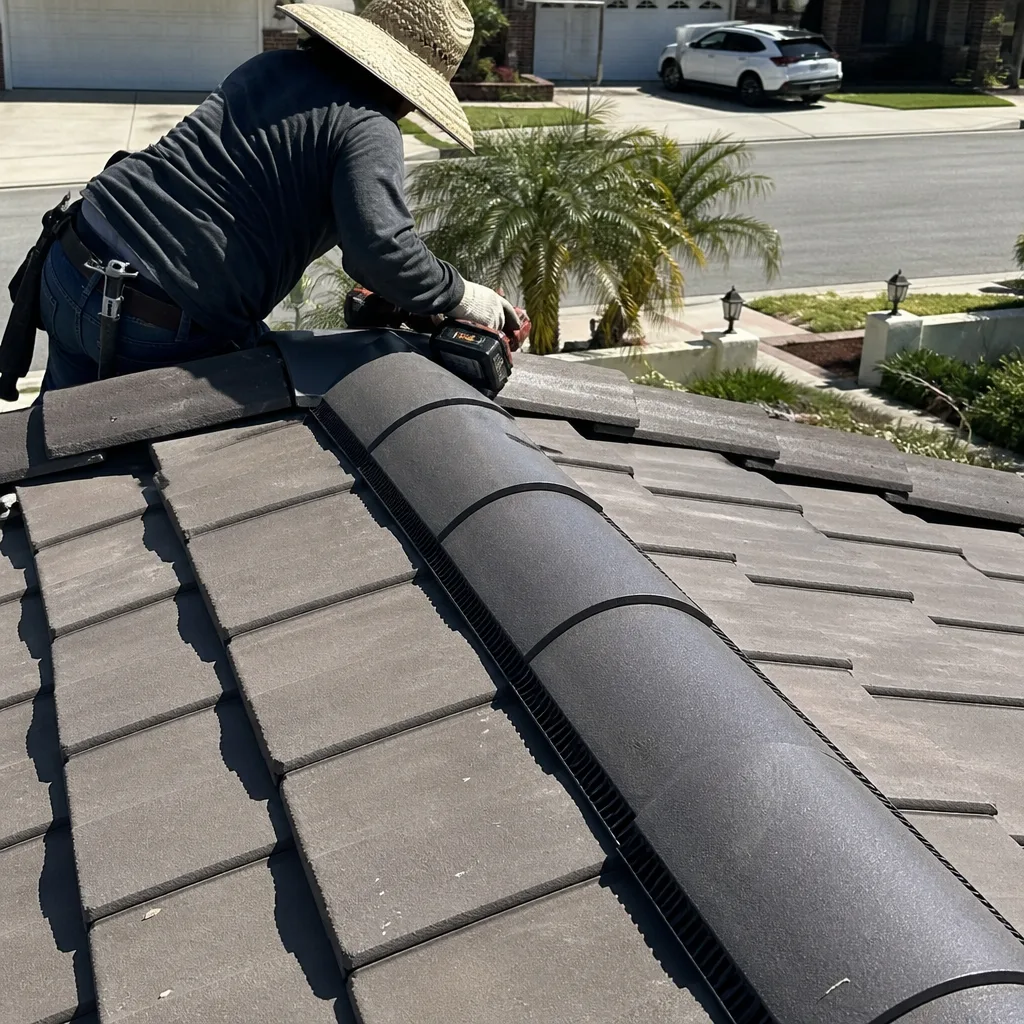
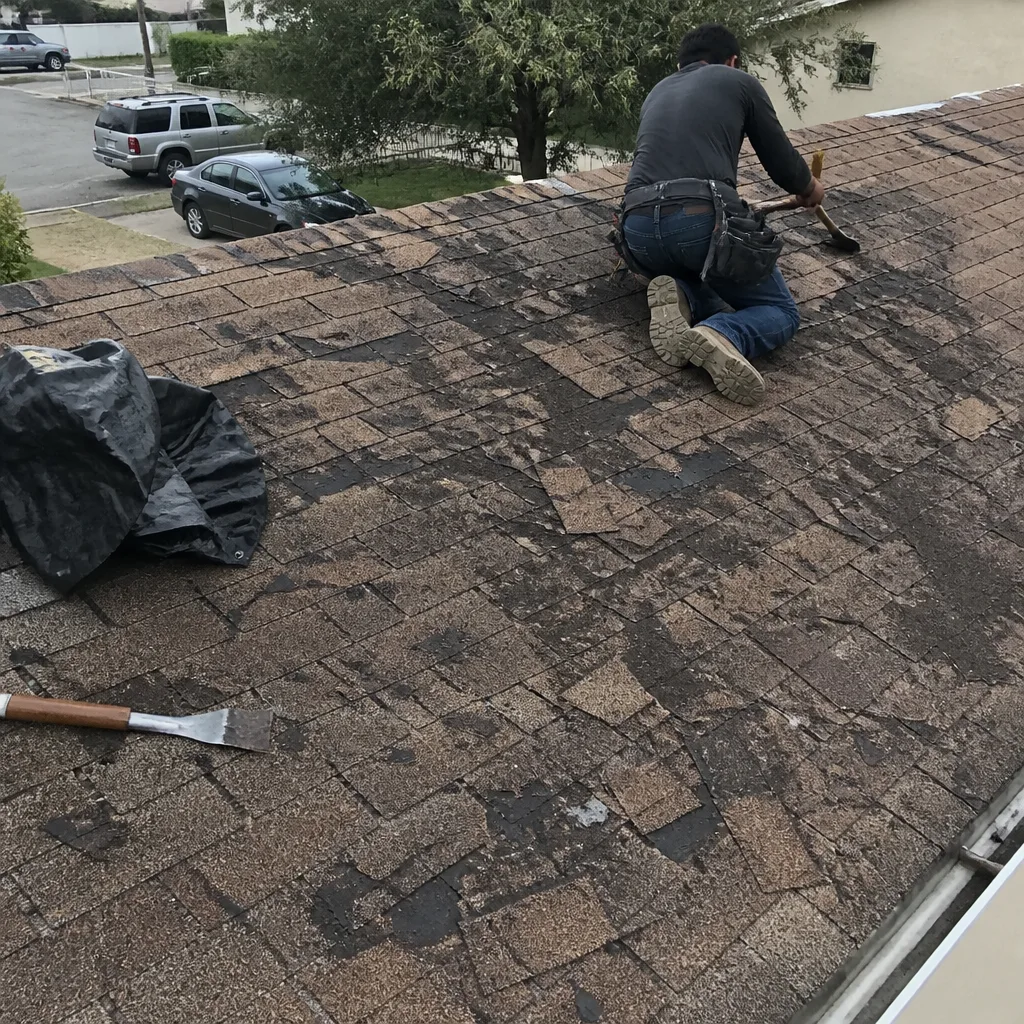
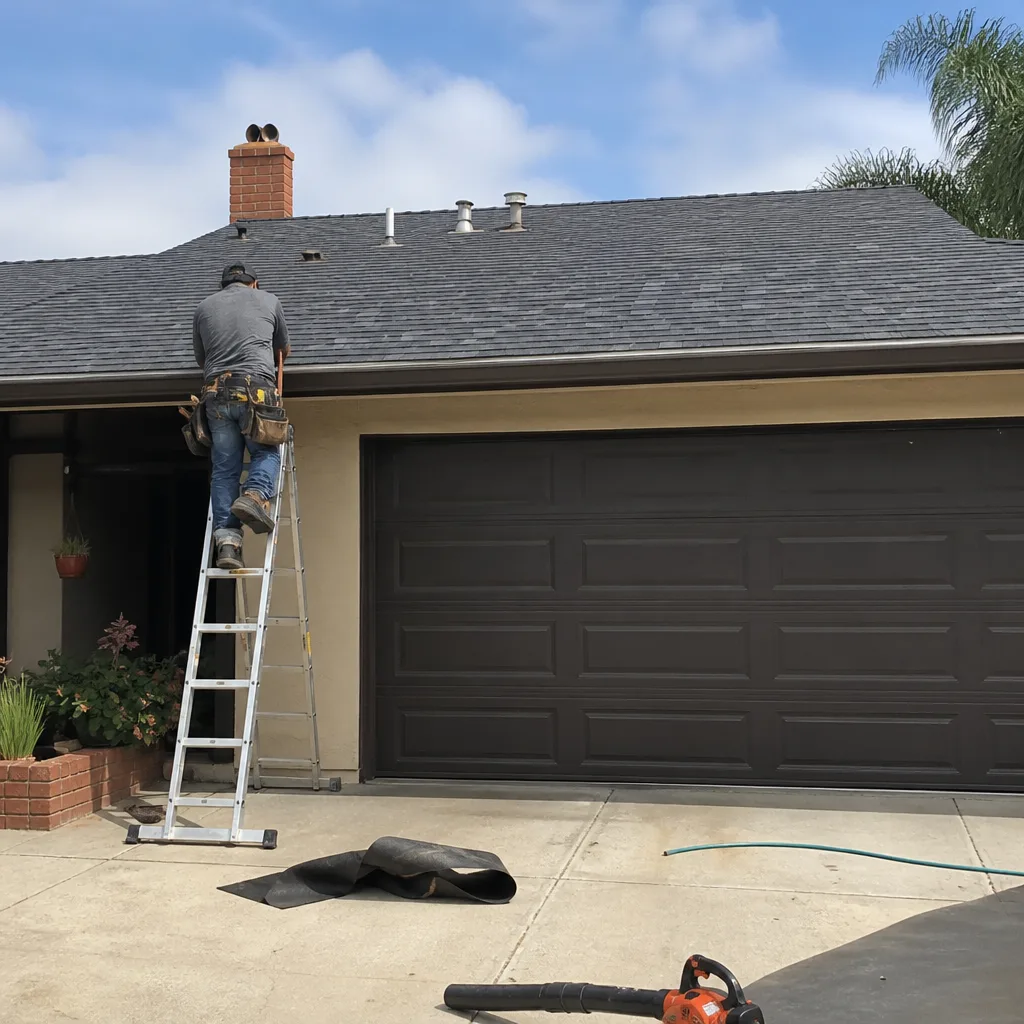
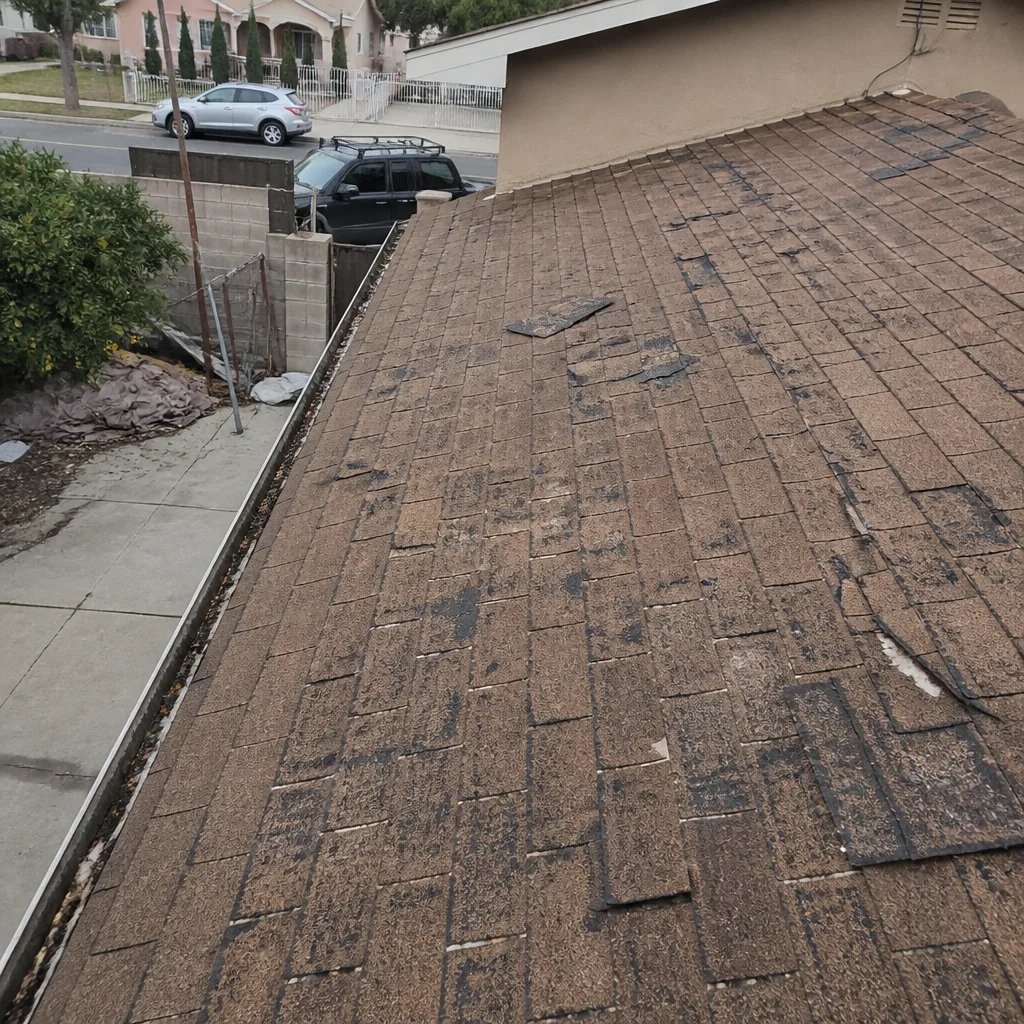
See the difference
 Before
 After
 Before
 After
 Before
 After