Last updated October 31, 2026
 Architectural shingles
 Metal roofing
 Tile roofing
 GAF
 Owens Corning
 Flat & low-slope
Free roof inspection with deck photos before we talk money - GAF and Owens Corning certified installation
Roof Repair Troubleshooting: Common Problems and How to Fix Them
A water stain on your ceiling can originate from a leak point six feet away or more, and patching directly above the stain is the single most common reason homeowners pay for the same repair twice. Water travels along roof sheathing, rafters, and even across insulation before it finds the lowest point and drips through. In Rialto, where we deal with everything from summer heat waves that bake shingles to winter Santa Ana winds that lift and tear them, the gap between symptom and source gets even wider. This guide will teach you to think the way professional roofers think: upstream to downstream, from the actual entry point to the visible symptom, and complements our Roofing Emergency Preparedness Guide for Rialto Homes. You’ll learn the diagnostic logic, the five most misdiagnosed roof problems, and how to tell whether a repair will hold or just buy you a few months. By the end, you’ll know more about your roof than most people ever will, and you’ll be able to spot a bad repair quote before you pay for it.
Styles & brands we work with
Quick Answer
Roof Repair services start with the realization that the visible symptom is almost never where the problem begins. Most leaks trace back to flashing failures, sealant breakdown, or penetrations like vents and pipes, not the shingles themselves. To diagnose correctly, inspect the attic first, identify the roof’s slope and water flow direction, then work backward from the stain to find the true entry point.
Table of Contents
- Why the Symptom Is Almost Never the Source
- Start in the Attic: The Inspection That Changes Everything
- Flashing vs. Shingles: The Most Common Misdiagnosis
- Sealant Failures: The Problem Disguised as Everything Else
- The Five Most Misdiagnosed Roof Problems
- Material-Specific Failure Patterns: Why Your Shingle Brand Matters
- A Real Repair vs. a Symptom Patch: How to Tell the Difference
- Common Mistakes to Avoid
- When to Call a Professional
- Frequently Asked Questions
- The Bottom Line
Why the Symptom Is Almost Never the Source
When water appears on a ceiling, most homeowners look up and assume the leak is directly above the stain. That assumption is wrong more often than it’s right. Water entering a roof system follows a predictable path governed by gravity and the slope of the roof deck. A shingle lifted by wind near the ridgeline lets water in at the top of the roof, which then runs down the underside of the sheathing, hits a rafter, follows that rafter horizontally, and finally drips onto an interior ceiling five, eight, even ten feet away from the entry point.
We’ve seen this play out in Rialto homes repeatedly. A homeowner calls about a stain in the living room corner. The actual entry point turns out to be a deteriorated pipe boot near the peak of the roof, on the opposite side of the house from where the stain appears. The water ran the entire length of the rafter before pooling and dropping. If we had patched directly above the living room stain, the leak would have continued, and the ceiling would have been damaged again within weeks.
Here’s the diagnostic logic every roofer uses:
- Identify the low point. The stain tells you where water is collecting, not where it’s entering.
- Establish water flow direction. Water always travels downhill on the slope of the roof deck. If your roof pitches from north to south, water entering at a north-facing penetration will migrate south.
- Account for wind. In Rialto, prevailing winds and seasonal Santa Anas can drive rain sideways, pushing water under shingles and flashing at angles that surprise homeowners. Wind-driven rain enters where calm rain never would.
- Map the framing. Rafters and trusses channel water along their length. A stain near an interior wall may trace back to a rafter that spans from the exterior wall to the peak.
- Check every penetration above the stain. Vents, pipes, chimneys, skylights, and valley intersections are the most likely entry points, all of which sit uphill from where water collects.
This upstream-to-downstream mindset is the foundation of everything else in this guide. Without it, you’ll keep fixing the wrong spot. And paying for it twice.
Start in the Attic: The Inspection That Changes Everything
If you have attic access, going up there before looking at the exterior changes the repair plan in at least half of all cases. The attic shows you the water’s actual path. The exterior only shows you where the water might have entered. That’s a critical difference.
Here’s what to look for, in order:
- Water stains on the sheathing. Dark, streaky, or watermarked plywood or OSB tells you exactly where moisture has traveled. Follow the stain uphill to its highest point. That’s your entry zone.
- Damp insulation. Insulation holds water long after the roof surface dries. A damp batt miles from the visible ceiling stain is a trail marker pointing toward the source.
- Rust on nails. Nails protruding through the sheathing that show rust indicate water has been reaching the nail shank. The highest rusted nail is close to the entry point.
- Daylight gaps. On a sunny day, turn off your flashlight and look for pinpoints of light coming through the deck. Any place light can pass, water can too.
- Mold or mildew. Dark spots on rafters or sheathing mean long-term moisture exposure. These areas are often downhill from the leak source but uphill from the ceiling stain.
In Rialto, attic inspections are particularly revealing because our climate creates specific moisture signatures. During the summer, attics here routinely hit 130 to 150 degrees. That heat bakes moisture out of the sheathing quickly, leaving crisp, dark mineral stains that trace paths accurately. In more humid climates, the stains blur and spread. Here, the water’s route is often clearly visible, like a map drawn on the wood.
We perform structured Roof Inspection in San Bernardino and throughout the inland region, and the attic portion is where we find what exterior-only inspections miss. If you’re going to look at one thing before calling anyone, look in the attic. It will change the entire conversation.
Flashing vs. Shingles: The Most Common Misdiagnosis
When homeowners see a leak, they assume shingles. When roofers see a leak, they look at flashing first. Flashing is the metal or synthetic material that seals the transitions: where the roof meets a wall, a chimney, a skylight, a valley, or any penetration. These transition points are where water finds its way in most often.
Here’s why flashing fails so frequently while shingles hold:
- Thermal movement. Metal flashing expands and contracts with temperature swings. Rialto’s summer heat and cool winter nights create constant cycling. Over years, this movement breaks the sealant bonds holding flashing in place.
- Seam leaks. Flashing is installed in pieces. Every seam is a potential entry point. Wind-driven rain can push water through seams that look fine on a dry day.
- Corrosion. Older galvanized or even aluminum flashing corrodes over time, especially at contact points with dissimilar metals or certain roofing cements. Once corrosion opens a pinhole, water gets in.
- Improper installation. Flashing that’s nailed too low, overlapped in the wrong direction, or not integrated with the shingle layer will leak from day one. Some leaks take years to show.
We’ve repaired Rialto homes where the homeowner had already paid a handyman to replace a patch of shingles near a chimney, only to have the leak return within months. The shingles were never the problem. The step flashing behind the chimney had separated at the seams. The shingle replacement was a symptom patch. The flashing repair was the fix.
If your leak is near any roof transition, assume flashing until proven otherwise. That assumption alone will save you from paying for shingle work that doesn’t stop the leak.
Sealant Failures: The Problem Disguised as Everything Else
What looks like a flashing failure is often a sealant failure. What looks like a shingle failure is sometimes a sealant failure too. Sealant, the flexible compound used around pipe boots, vent collars, and flashing edges, is the most overlooked component of a roofing system, and it’s the most common point of failure we see in Rialto.
Here’s how sealant fails and what it looks like from the ground:
- Cracking. Sealant exposed to direct sun dries out and cracks over time. These cracks create tiny channels for water, often invisible from ground level but obvious up close.
- Separation. Sealant bonds to two surfaces: metal and shingle, or plastic and roof deck. When either surface shifts, the sealant pulls away, creating a gap you can see as a shadow line.
- Bubbling. Moisture trapped under sealant during application will expand with heat and create bubbles that eventually pop, leaving pinholes. In Rialto’s summer heat, this accelerates.
- Incomplete coverage. A thin or partially applied bead of sealant might repel light rain but fail under wind-driven rain or runoff during a downpour.
The visual indicator of a sealant failure is usually subtle: a hairline crack line, a slight discoloration, or a gap that opens only when the material is warm or cold. You may not see it from the ground at all. That’s why a proper inspection involves getting on the roof and touching the sealant: feeling for brittleness, probing for separation, checking for adhesion.
We recommend resealing pipe boots and vent collars as a preventive measure every five to seven years in our climate. It’s a fraction of the cost of a leak repair, and it stops the most common leak source before it starts. If you’re not sure when your roof was last resealed, it probably needs it.
The Five Most Misdiagnosed Roof Problems
Every roofer has a mental list of problems that get misdiagnosed again and again. Here are the five we see most often in Rialto, and what the misdiagnosis costs homeowners.
1. The Ceiling Stain That’s Actually a Condensation Problem
Not every attic moisture problem is a leak. In Rialto, where summer attic temperatures soar and nighttime temperatures drop, condensation forms on the underside of the roof deck when warm, moist air from the living space migrates upward. Homeowners see a stain, assume a leak, and call for a repair that doesn’t fix anything because the roof isn’t leaking. The fix is often attic ventilation or air sealing, not roofing work. A proper attic inspection distinguishes the two in minutes.
2. The Shingle Failure That’s Actually a Flashing Failure
Covered earlier, but it bears repeating: shingles near transitions are almost never the problem. The flashing is. Replacing shingles without addressing flashing is the most common repeat-repair scenario in roofing.
3. The Flashing Failure That’s Actually a Sealant Failure
Flashing itself rarely fails outright. The metal is still there. What fails is the sealant that bonds flashing to the roof and the surrounding materials. Replacing flashing when the sealant is the problem is unnecessary. More common is the opposite: resealing when the flashing has corroded through.
4. The Valley Leak That’s Actually a Debris Problem
Rialto’s wind carries leaves, twigs, and yard debris onto roofs. When debris accumulates in roof valleys, it dams water and forces it sideways under shingles. The leak that results looks like a valley failure, but the fix is simple: clean the valley. If the leak stops, the roof is fine. If it continues, then inspect the valley flashing and underlayment.
5. The Pipe Boot Leak That’s Actually an Animal Problem
Squirrels, raccoons, and birds damage pipe boots and vent caps in ways that look like weathering. Claw marks, chewed edges, or displaced caps are animal damage, not material failure. In Rialto, with our mix of older trees and newer construction, animal damage around penetrations is a regular finding. The repair is the same, but the prevention is different: you may need animal mitigation, not just a new boot.
Each of these misdiagnoses has one thing in common: the symptom was treated without finding the source. The fix that actually holds is the one that starts with a proper diagnosis.
Material-Specific Failure Patterns: Why Your Shingle Brand Matters
Different shingle brands fail in different ways. Knowing what’s on your roof changes how you diagnose, what you patch with, and whether a repair is even worth doing. In Rialto, we see a mix of brands across homes built in different decades, and the failure patterns are consistent enough to identify from the roof alone.
Here’s what we observe in the field:
- CertainTeed products tend to show granule loss first. The fiberglass mat remains intact, but the surface wears smooth over years of Rialto sun exposure. A CertainTeed roof nearing the end of its life often looks patchy and pale, with bare spots where granules have washed away. Leaks in these roofs usually trace to penetration failures, not the shingle body itself.
- GAF shingles in our climate tend to crack along the sealant strip line as the adhesive degrades. The shingles stay in place, but the leading edges lift slightly, creating a route for wind-driven rain. Homeowners often see uplifted tabs from the ground and assume wind damage. It’s usually adhesive failure accelerated by heat cycling.
- Tamko products we’ve serviced show a pattern of curling at the corners, especially on south-facing slopes in Rialto. The corners lift first, then the entire tab. Once curling starts, it progresses faster than most homeowners expect, and repairs become harder because the shingles are brittle and prone to breaking when manipulated.
Identifying your existing shingle brand before buying patch materials matters because mixing brands changes the appearance and, more importantly, the performance. Different manufacturers use different adhesive formulations, different granule colors, and different dimensional profiles. A patch that doesn’t match is a weak point in the roof, not just an eyesore.
This is where having access to multiple brands changes the outcome. As a Ridgeway Roof Repair home customer, you’re not locked into whatever single brand a contractor happens to stock. We install and service GAF, CertainTeed, Owens Corning, IKO, Atlas, Tamko, and Boral, so when a repair needs to blend with an existing roof, we can match the material instead of forcing a workaround. The right material for your roof, not just what we have in stock.
A Real Repair vs. a Symptom Patch: How to Tell the Difference
Not all roof repairs are equal. A repair that treats the source of the problem holds for years. A repair that treats the symptom fails within months, and the homeowner pays again. Here’s how to tell which one you’re being offered.
Indicators of a symptom patch:
- The proposal only addresses the area directly around the visible damage or stain.
- The contractor never went into the attic or asked about a ceiling stain location relative to the roof slope.
- The scope includes replacing shingles but makes no mention of flashing, sealant, or underlayment.
- The proposal is for a targeted shingle replacement near a chimney, wall, or valley, with no plan to inspect or address the transition itself.
- The contractor cannot explain where the water is entering and offers a guess instead of a diagnosis.
Indicators of a proper repair:
- The contractor inspected the attic first and can trace the water path from the interior stain to the exterior entry point.
- The scope addresses the entry point: flashing replacement, sealant repair, boot replacement, or underlayment repair as the primary fix.
- Shingle replacement is secondary, done only to restore the area disturbed by the repair.
- The proposal includes a clear explanation of why the failure happened and what’s being done differently to prevent recurrence.
- You receive documentation: photos of the entry point, an explanation of the water path, and a warranty that covers the specific repair.
We’ve walked Rialto homeowners through both scenarios. The difference often comes down to whether the person on the roof was looking for a source or looking for shingle damage. One of those searches leads to a fix. The other leads to a repeat call.
A full Roof Repair in San Bernardino should always start with a diagnosis, not a hammer. If you’re getting a quote without an explanation of where the water is entering, you’re not getting a diagnosis. You’re getting a guess.
Common Mistakes to Avoid
- Patching directly above the ceiling stain. The stain is the lowest point, not the entry point. Patching there leaves the actual leak untouched, and you’ll see the stain return within weeks or months.
- Skipping the attic inspection. Half of all leak diagnoses require attic evidence to correctly identify the entry point. Skipping it means guessing from the exterior, and guesses on roofs are expensive.
- Replacing shingles near a chimney without touching the flashing. The flashing around the chimney is almost always the culprit. New shingles around old flashing is a symptom patch that fails fast.
- Using the wrong patch material. Grabbing whatever shingle bundle is on sale at the hardware store often means a color and profile mismatch that never seals properly. Identify your existing brand first.
- Sealing over deteriorated sealant. New caulk over cracked, brittle sealant doesn’t bond. The old sealant must be removed before new sealant can adhere properly.
- Ignoring wind direction. Wind-driven rain enters at angles calm rain doesn’t reach. A leak that only appears during Santa Ana conditions is likely wind-driven and may need a different repair than a gravity-fed leak.
- Delaying a small leak. In Rialto’s hot, dry climate, it’s easy to tell yourself a small leak can wait. But moisture trapped in the attic during the wet season feeds mold and rot through the dry season. Small leaks become structural problems quietly.
When to Call a Professional
Some roof problems are safe to assess and even address as a homeowner with basic tools and a willingness to learn. Others are not. Call a professional when the leak source is unclear after an attic inspection, when the damage involves flashing around a chimney or skylight, when you see signs of structural sagging or rot in the sheathing, or when the repair involves being on a roof with more than a 6:12 pitch. Working on a roof is dangerous, and working on a roof without knowing what you’re looking for is both dangerous and expensive. Ridgeway Roof Repair offers free estimates in Rialto: call (877) 588-7942 and we’ll inspect the attic, trace the water path, and give you an honest diagnosis with no pressure. From inspection to repair to full replacement, one company, one accountability.
Frequently Asked Questions
Start in the attic. Look for water stains on the sheathing and follow them uphill to the highest visible stain, which is close to the entry point. Then check every penetration above that point: pipes, vents, chimneys, valleys, and flashing transitions. The entry point is almost never directly above the ceiling stain.
In Rialto, a minor repair like resealing a pipe boot or replacing a few shingles typically costs between $250 and $600. Flashing repairs around a chimney or wall run higher because they involve more material and detailed work. For an exact price, call (877) 588-7942 for a free estimate: we give written, line-item pricing with no surprises.
Flashing repair can involve bent metal, roofing cement, and working at heights near roof edges, all of which carry real risk of injury and repeated leaks. If you’re not experienced with roof work, we recommend having a professional handle flashing repairs. We only do roofing, and flashing is one of the most common repairs we perform in Rialto.
Repairs make sense when the problem is isolated: a single penetration failing, a section of flashing separating, or a small area of shingle damage. Replacement becomes the right call when the damage is widespread, the roof is at or near the end of its material life, or leaks recur in different locations. A structured inspection will tell you which situation you’re in. We offer Roof Replacement in San Bernardino when it’s time, and honest repair advice when it’s not.
A roof that only leaks in heavy rain usually has a water path that engages only under volume: a valley that needs cleaning, a sealant gap that opens under runoff, or flashing that handles light rain but not driven rain. These leaks are often wind-related too. In Rialto, a leak that appears during a hard rain after wind is often wind-driven water entering at a transition or penetration.
Every two to three years for a roof under ten years old, and annually for a roof over fifteen years old. Rialto’s heat, UV exposure, and seasonal winds accelerate aging even when the roof looks fine from the ground. An inspection catches sealant failures and small transitions issues before they become leaks. Our Roof Inspection in San Bernardino service is structured to produce honest, actionable findings, not a sales estimate disguised as an assessment.
The Bottom Line
Roof problems are rarely where they appear to be. The stain on the ceiling is the end of a water pathway that started somewhere uphill, at a flashing transition, a failed sealant bead, or a wind-lifted shingle. Diagnosing correctly means looking in the attic first, understanding the slope and framing, and tracing the water back to its source. The five most misdiagnosed problems all share the same root cause: a symptom patched without a source found. In Rialto, our climate accelerates sealant breakdown and flashing movement, making diagnosis even more important. When you know what’s actually wrong, you can pay for the right fix once instead of paying for the wrong fix twice. If you want a roof diagnosis that starts in the attic and ends with a documented, honest recommendation, call Ridgeway Roof Repair at (877) 588-7942. Seven brands, one recommendation, yours.
Written by the team at Ridgeway Roof Repair, serving Rialto since 2018. Explore more guides & resources.
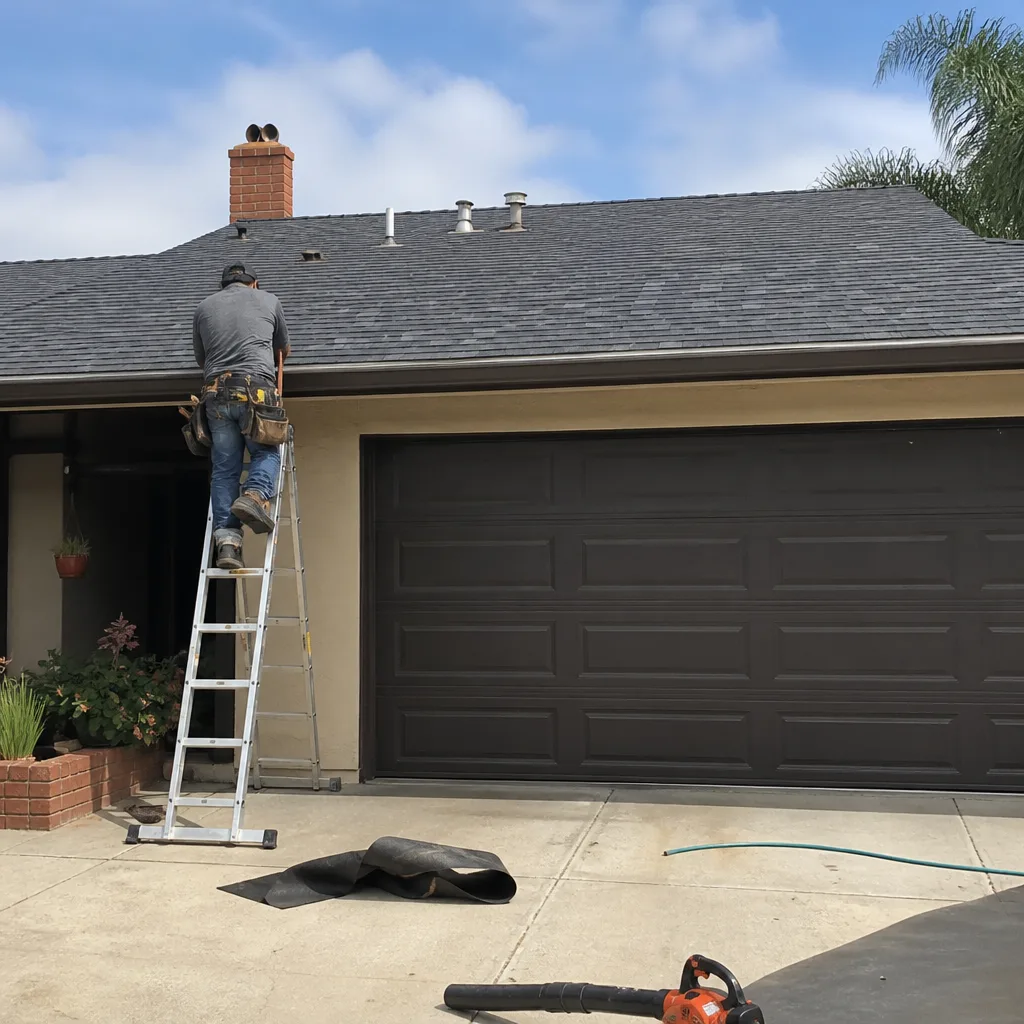
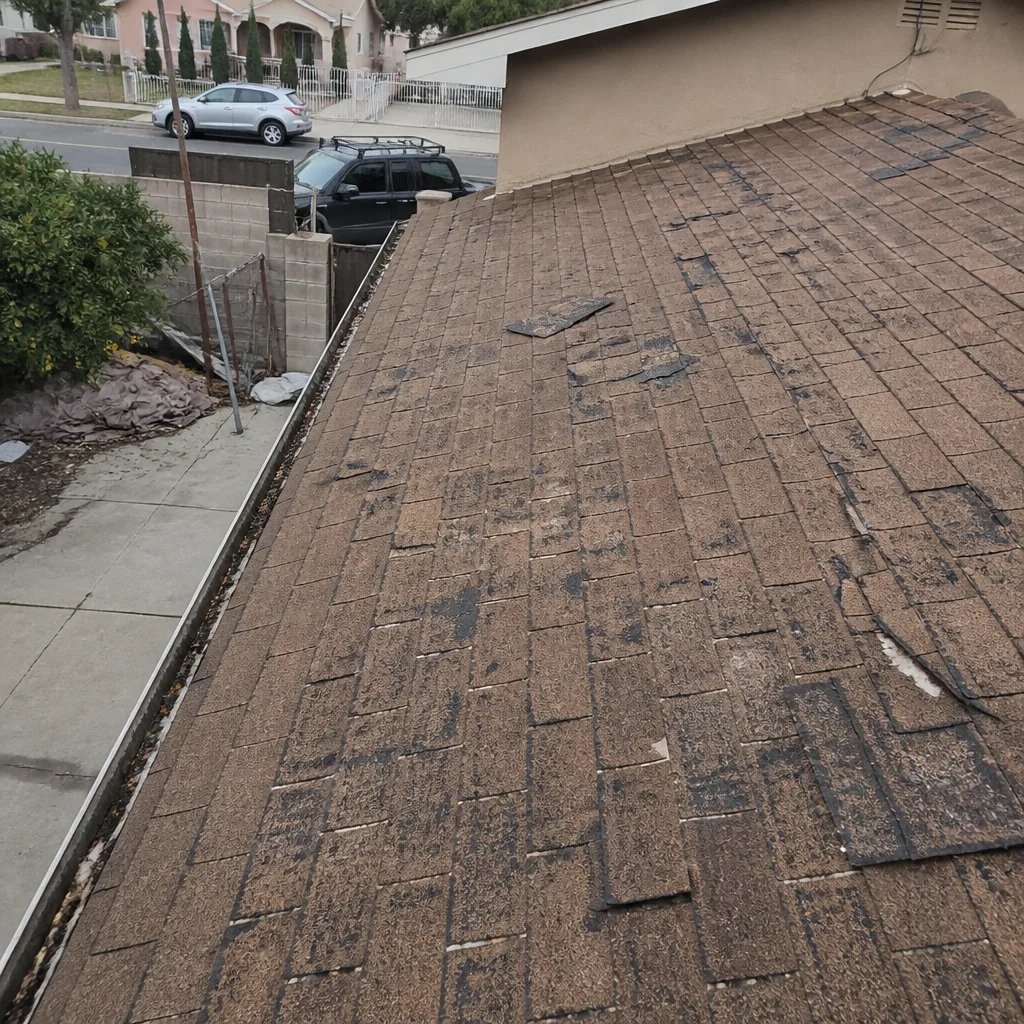
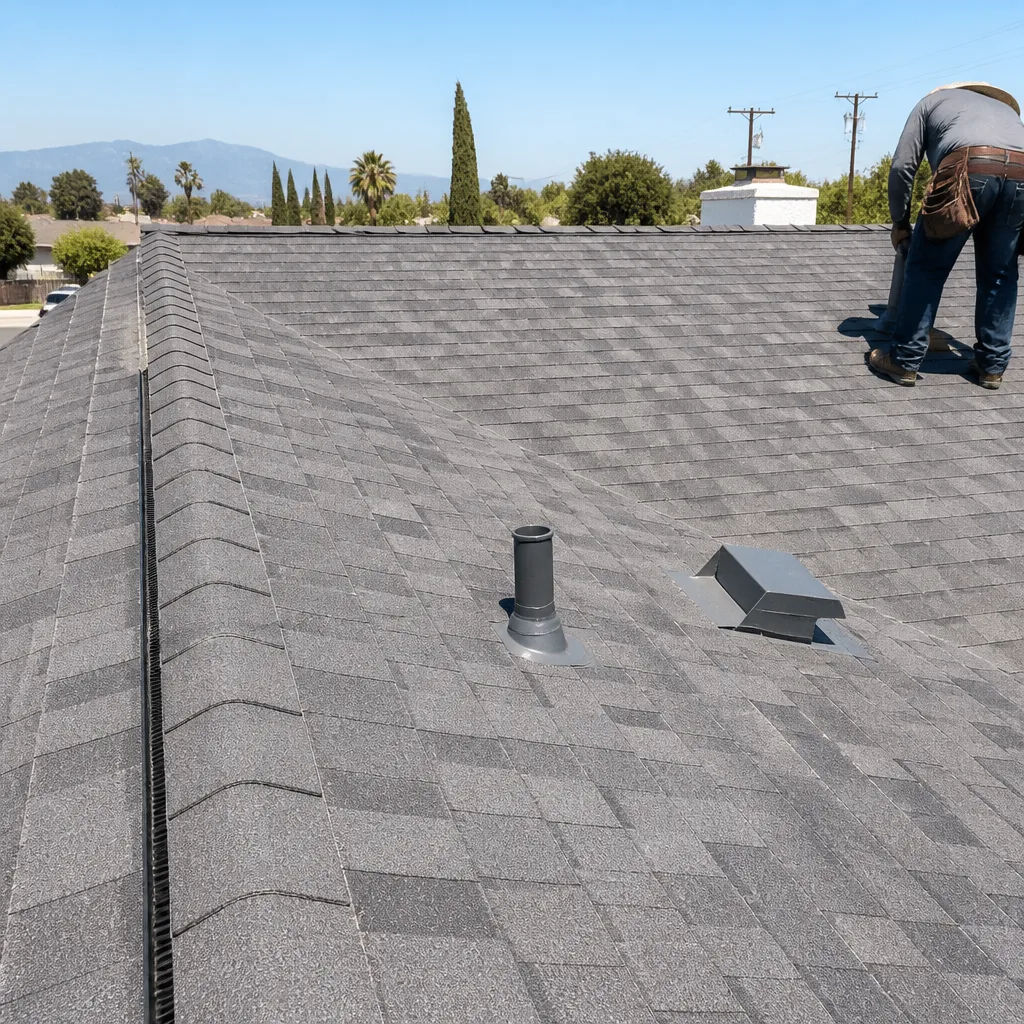
See the difference
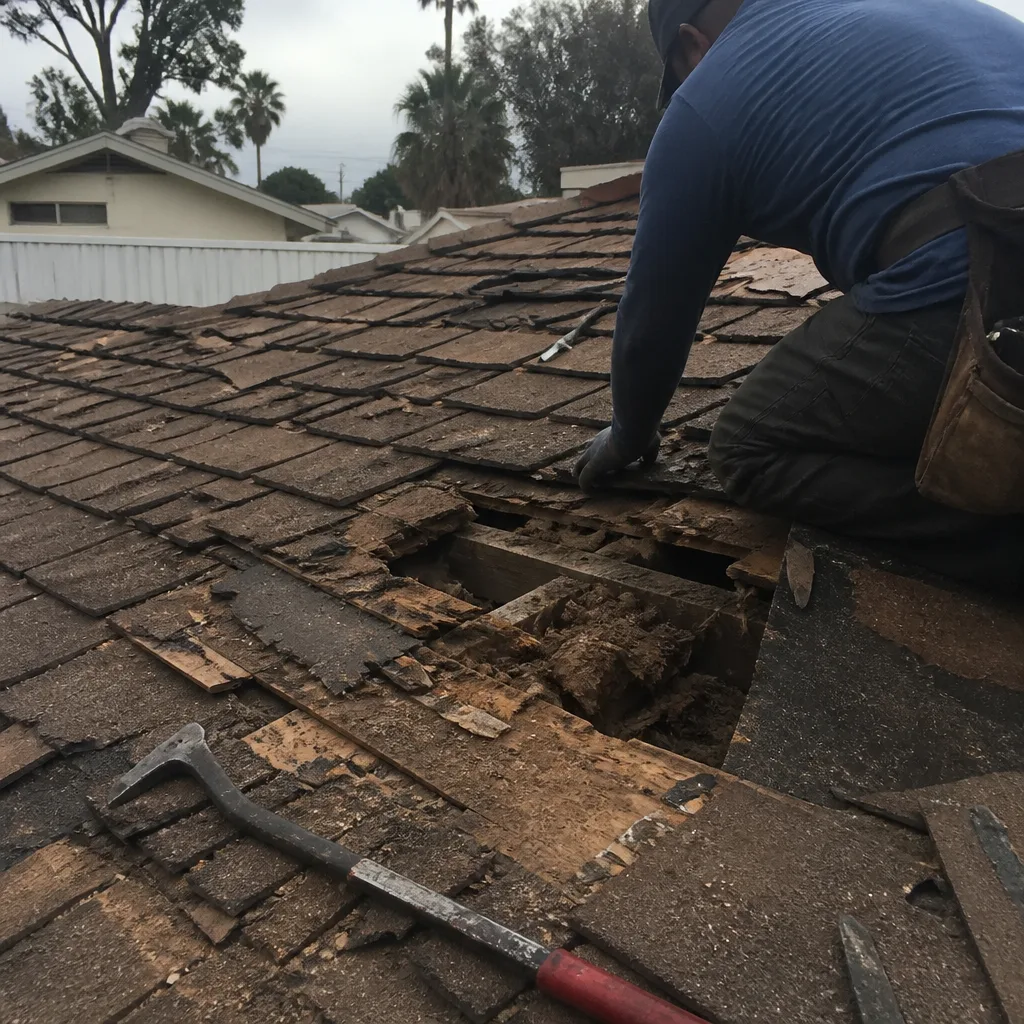 Before
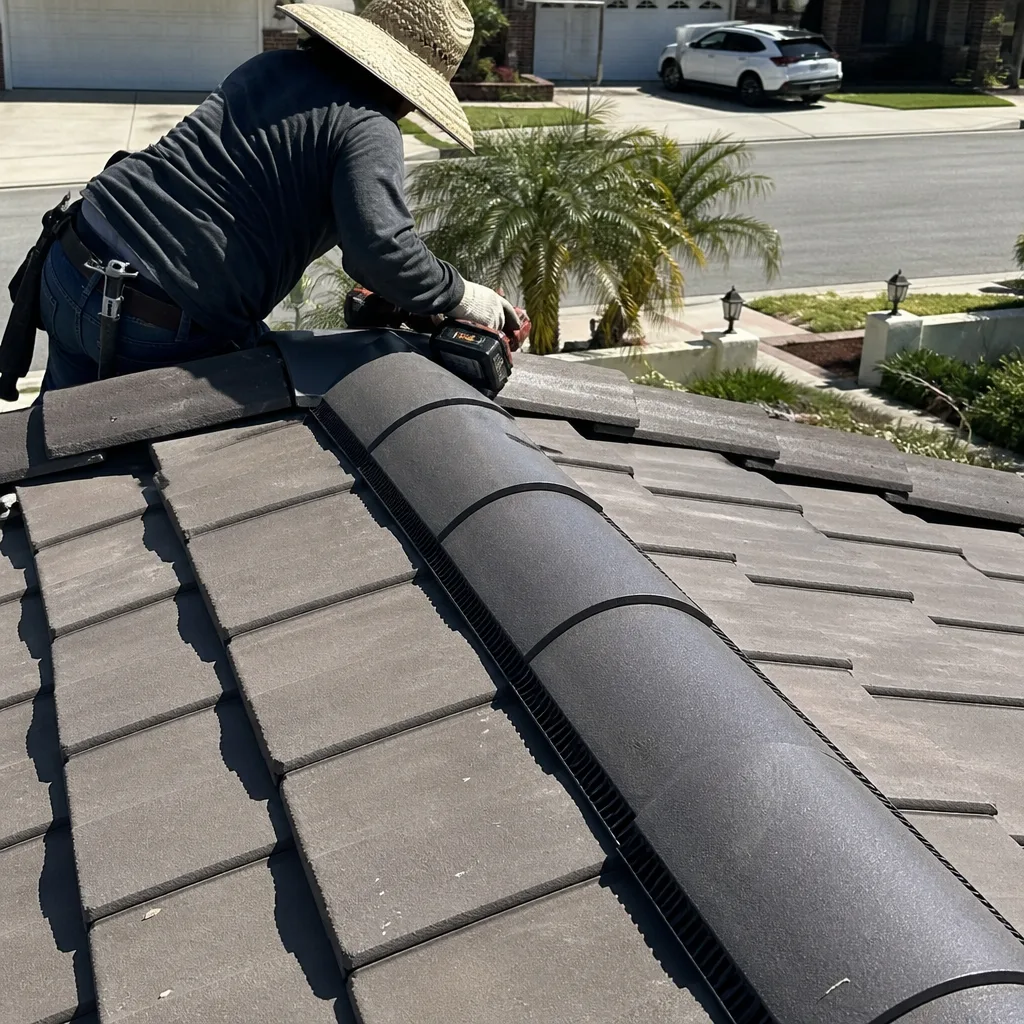 After
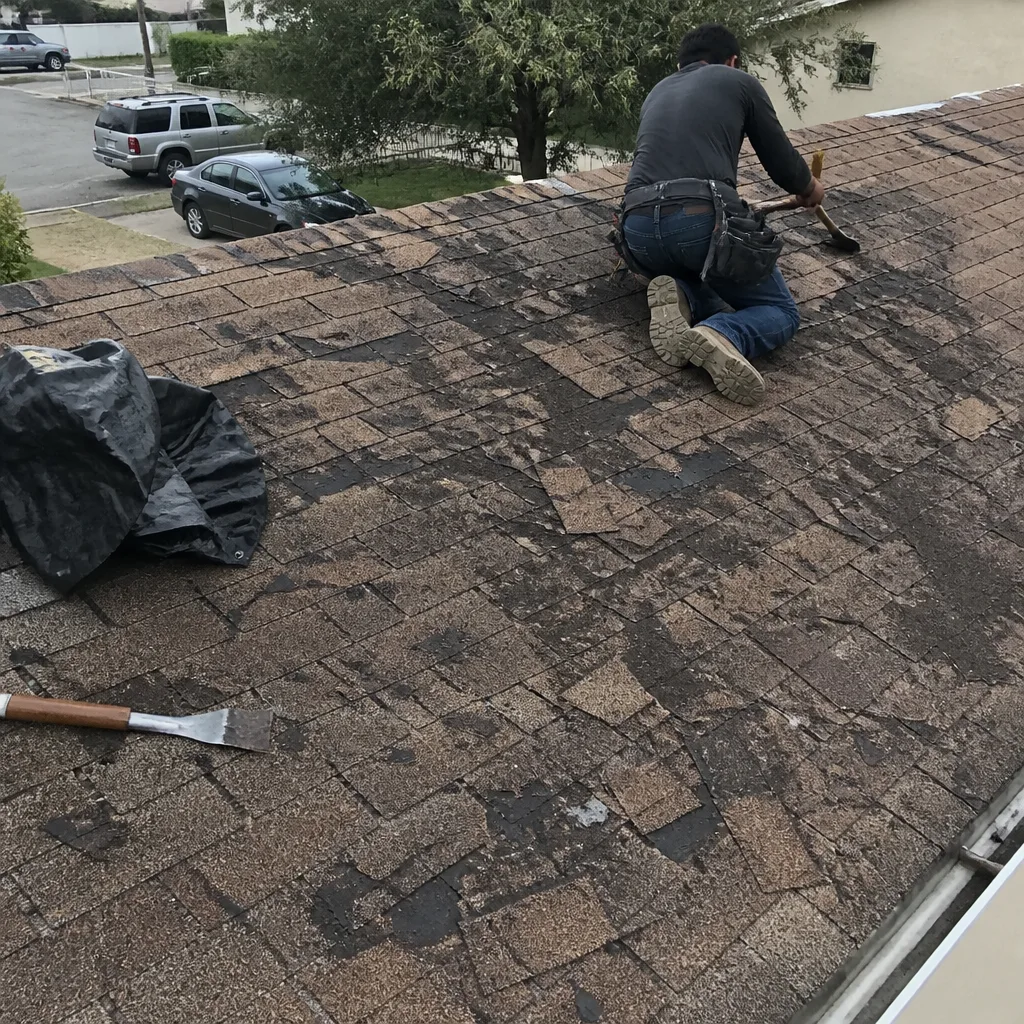 Before
 After
 Before
 After